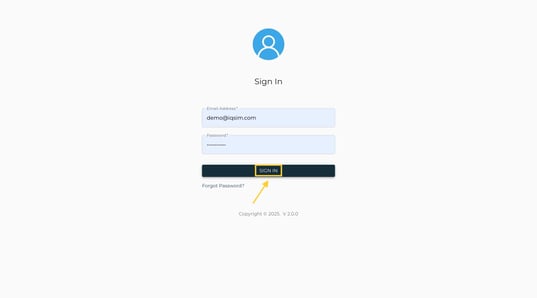
1. Logging into the Device Manager Portal
1.Open the Device Manager Portal in your browser.
2.Enter your Username and Password.
3.Click Sign In.
Upon logging in, you will arrive at the main landing page, where you can see an overview of all managed devices.
2. Searching for a Device
1.At the top, locate the Search Bar.
2.Enter a Serial Number, MAC Address, or Label.
3.Click Search.

4. A small row will appear, displaying an overview of the device details:
•Device Label
•Port Group
•Status (Reachable/Unreachable)
•Used Data
•Reseller Information
•Last Update Timestamp

5. On the right, two action icons appear:
•Red Cross (Deactivate Device) – Click and confirm Submit to deactivate.
•Blue Info Icon (View Details) – Click to open the Device Info Page.

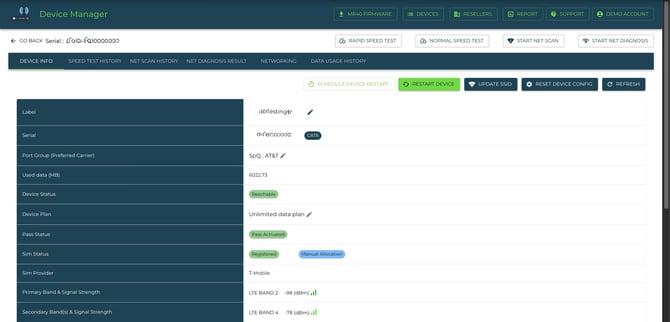
3. Viewing & Editing Device Info
1.Click the Blue Info Icon next to a device.

2.You will see:
•Label – Click the Update Label Icon to change the device name.

• Serial Number & Device Category – Shows MR40 Model and network type (CAT6, CAT12, CAT20).
•Port Group – Displays network preferences and band-locking options:
•Click Change Port Group to modify network settings (e.g., Verizon Band 13, T-Mobile AT&T).

•Used Data – Shows monthly usage in MB.
•Device Status – Displays Reachable (green) or Unreachable (red).
•Device Plan – Indicates active data plan (Unlimited, 100GB, 350GB, 500GB).
•SIM & Pass Status – Shows whether the SIM is registered and active.
•SIM Provider – Displays the current network (AT&T, Verizon, etc.).
•LTE Band & Signal Strength – Shows detailed network performance.
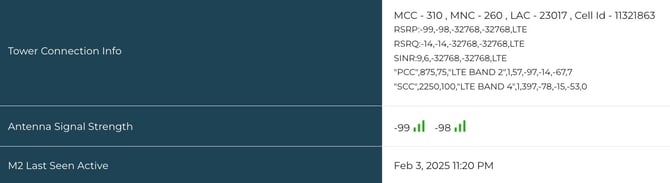
4. Checking Tower Connection Info
1.Scroll to the Tower Connection Info section.
2.Review signal quality metrics:
•RSRP (Reference Signal Received Power)
•RSRQ (Reference Signal Received Quality)
•SINR (Signal-to-Interference-plus-Noise Ratio)
3.Check Antenna Signal Strength for 4G/5G antennas.
4.Verify the Last Seen Active Timestamp.
5.Click See Logs for detailed device activity history.
5. Checking Wireless & Software Information
1.Locate the Wireless Connected Devices section:
•Displays the number of devices connected via 2.4GHz & 5.8GHz Wi-Fi.

2.View Software Version:
•If an update is available, click the Green Update Button.

3.Click the Admin Link to access LuCI for advanced configurations.
![]()
6. Checking SIM & Speed Test Results
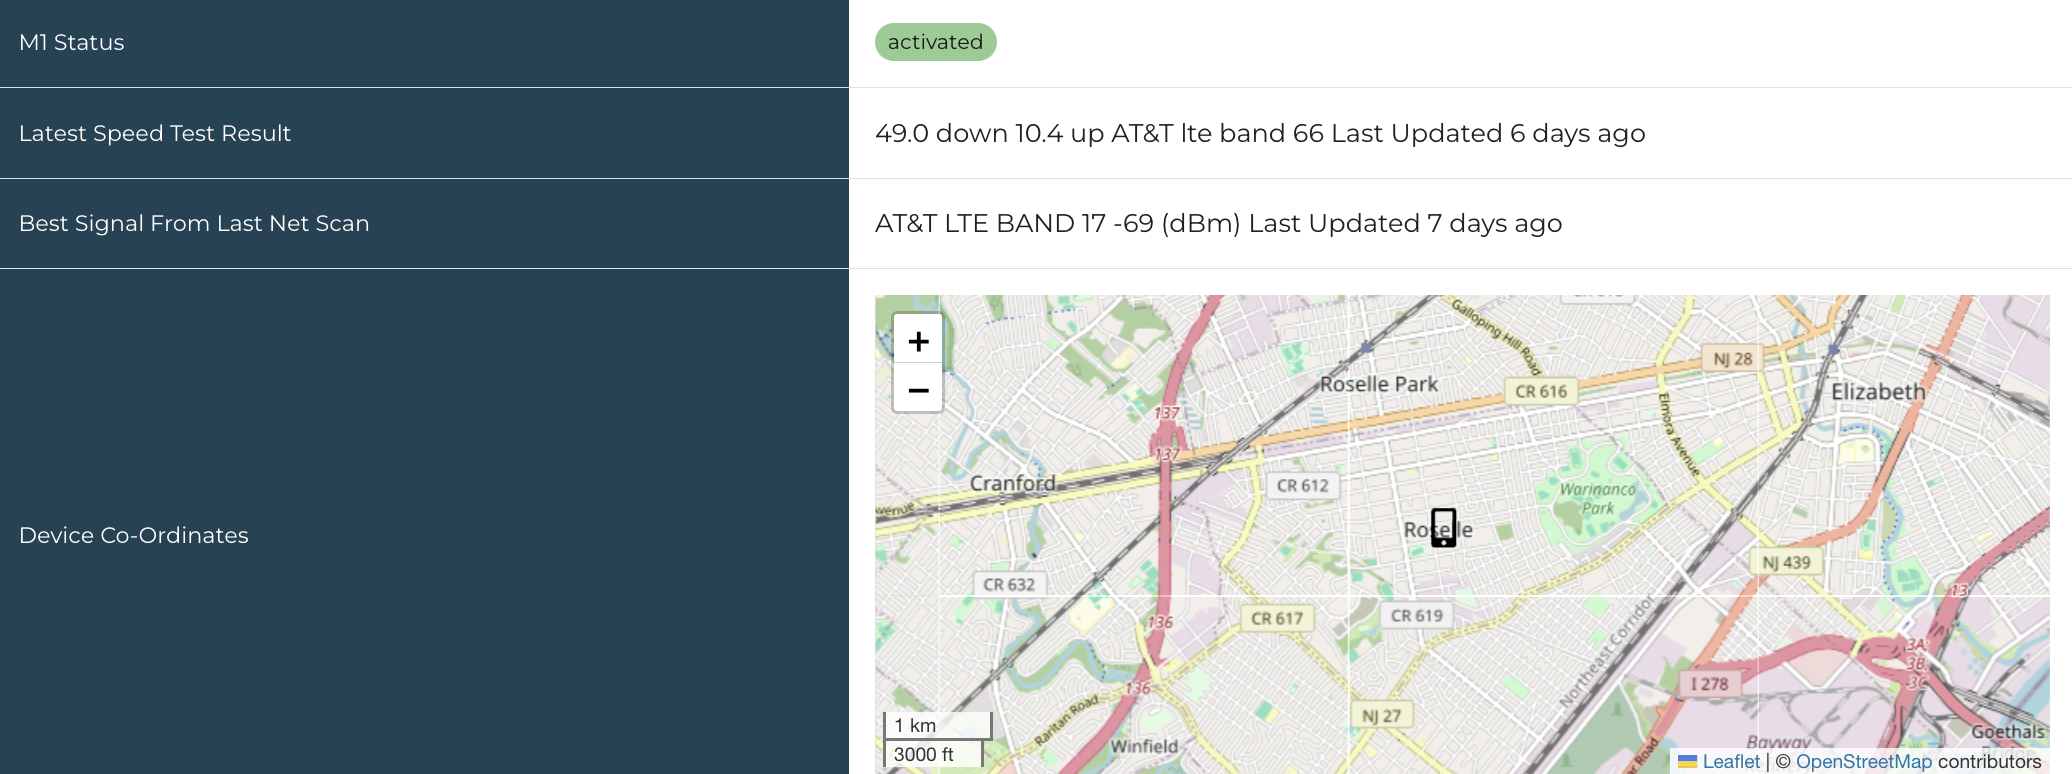
1.M1 ICCID & Status:
•Displays SIM number and network mode (Multi IMSI TCP3).
2.Latest Speed Test Results:
•Shows Download & Upload speeds and Network Band used.
3.Best Signal from Last Net Scan:
•Displays a map showing device location and nearby towers.